How to Install Windows 11 the "Local Account" Way
Install Windows 11 the "traditional Local Account" way
This blog post memory is pretty much adapted from here.
Select the version/build version below for the step-by-step guide:
Windows 11 24H2 and prior (like 23H1, 23H2, 24H1)
Windows 11 24H2 Build 26120 and beyond (like 25H2, 26H1)
Windows 11 24H2 and prior
1. Follow the Windows 11 install process until you get to the "choose a country" screen.
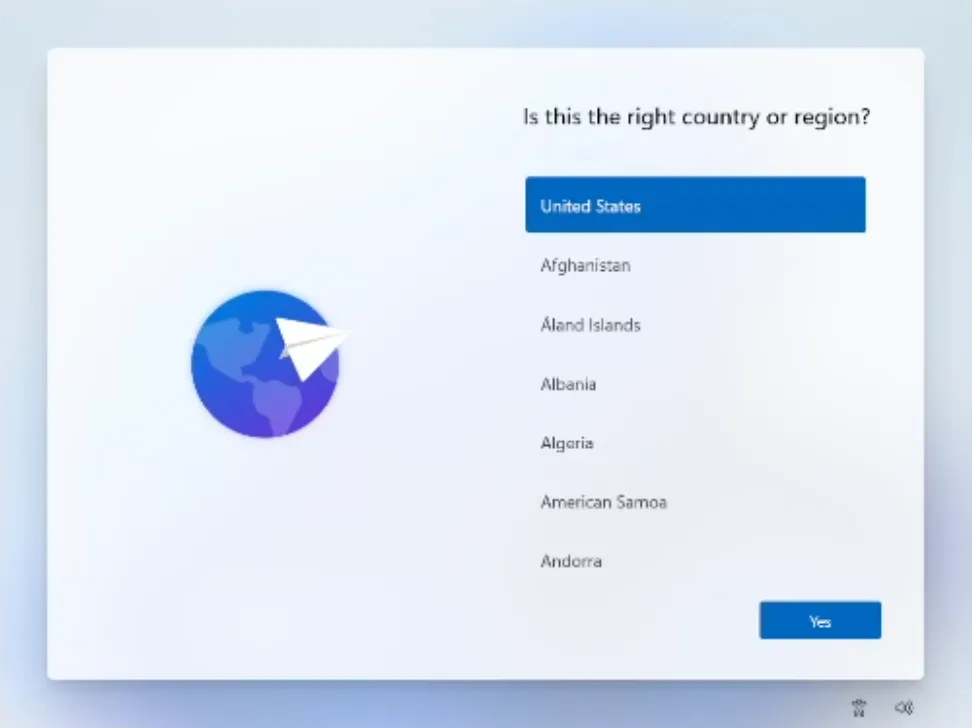
Now's the time to cut off the Internet. However, before you do, you need to issue a command that prevents Windows 11 from forcing you to have an Internet connection.
2. Press Shift + F10. A command prompt appears.
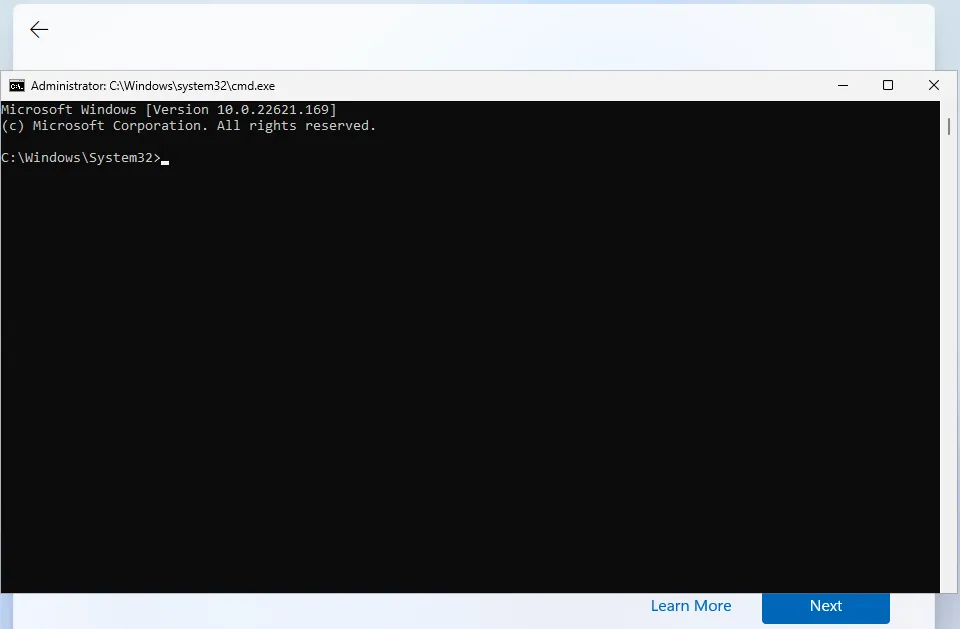
3. Type OOBE\BYPASSNRO to disable the Internet connection requirement.
The computer will reboot and return you to this screen.
4. Press Shift + F10 again and this time Type ipconfig /release. Then press Enter to disable the Internet. This effectively disconnects your computer from the Internet. If you're on Ethernet, you could just disconnect the plug, but this is just as easy if not easier.
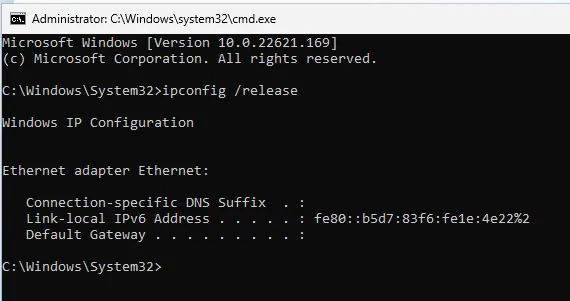
5. Close the command prompt.
6. Continue with the installation, choosing the region, keyboard and second keyboard option.

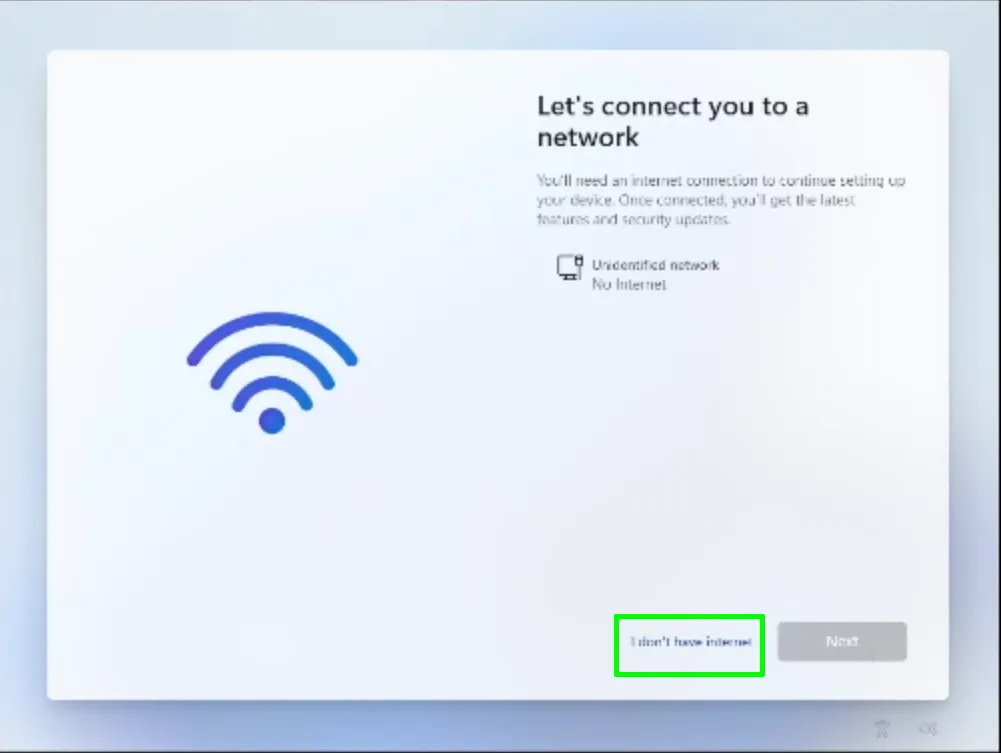
A screen saying "Let's connect you to a network" appears, warning you that you need Internet.
7. Click I don't have Internet to continue.
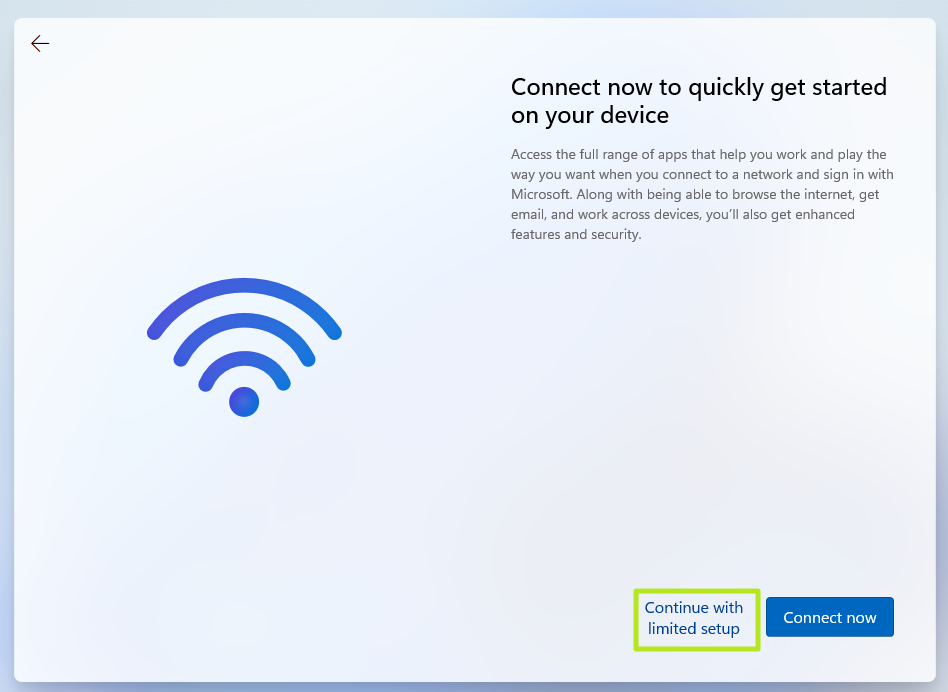
8. Click Continue with limited setup if prompted. The OOBE may skip this screen and take you straight to the next step.
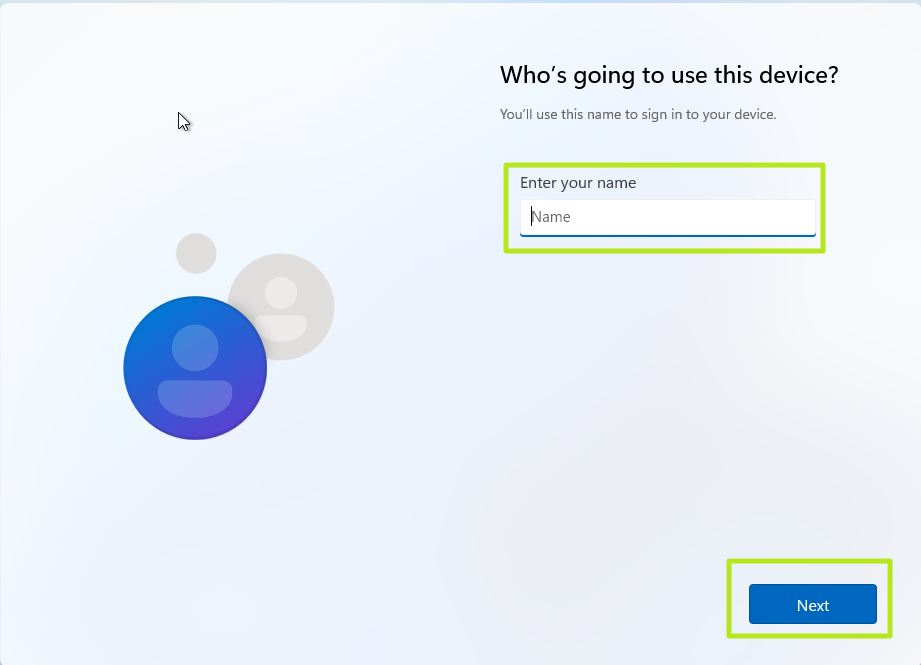
A new login screen appears asking "Who's going to use this device?"
9. Enter a username you want to use for your local Windows 11 account and click Next.
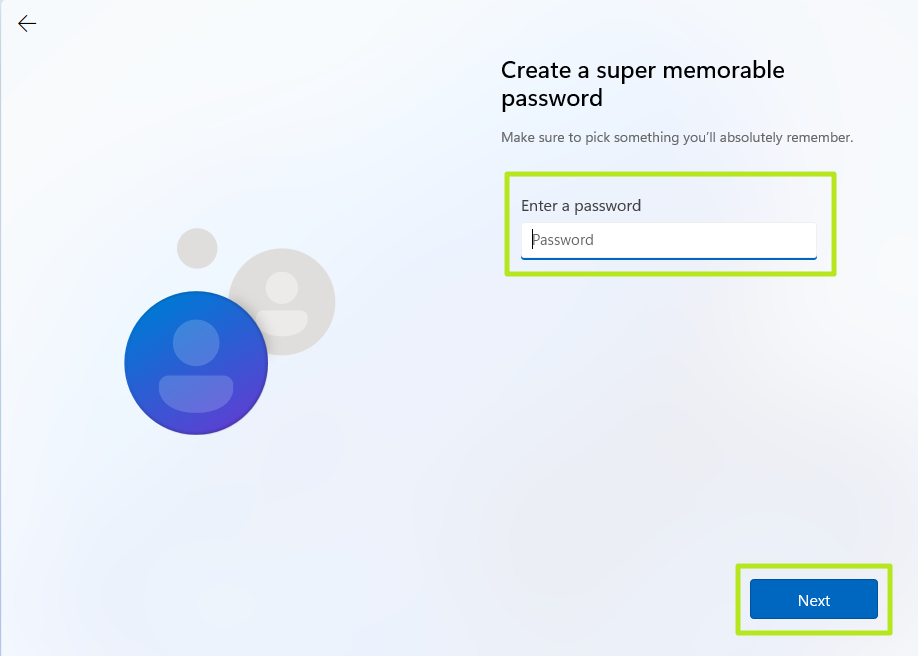
10. Enter a password you would like to use and click Next. You can also leave this field blank and have no password, but that's not recommended.
11. Complete the rest of the install process as you normally would.
Windows 11 24H2 (Build 26120) and beyond
On new preview builds of Windows (and probably the release version), the OOBE/BYPASSNRO command has been removed and no longer works. Instead, there's a new command called start ms-chx:localonly that does something similar. This process is less cumbersome as it does not involve reboots. Here's how you use it.
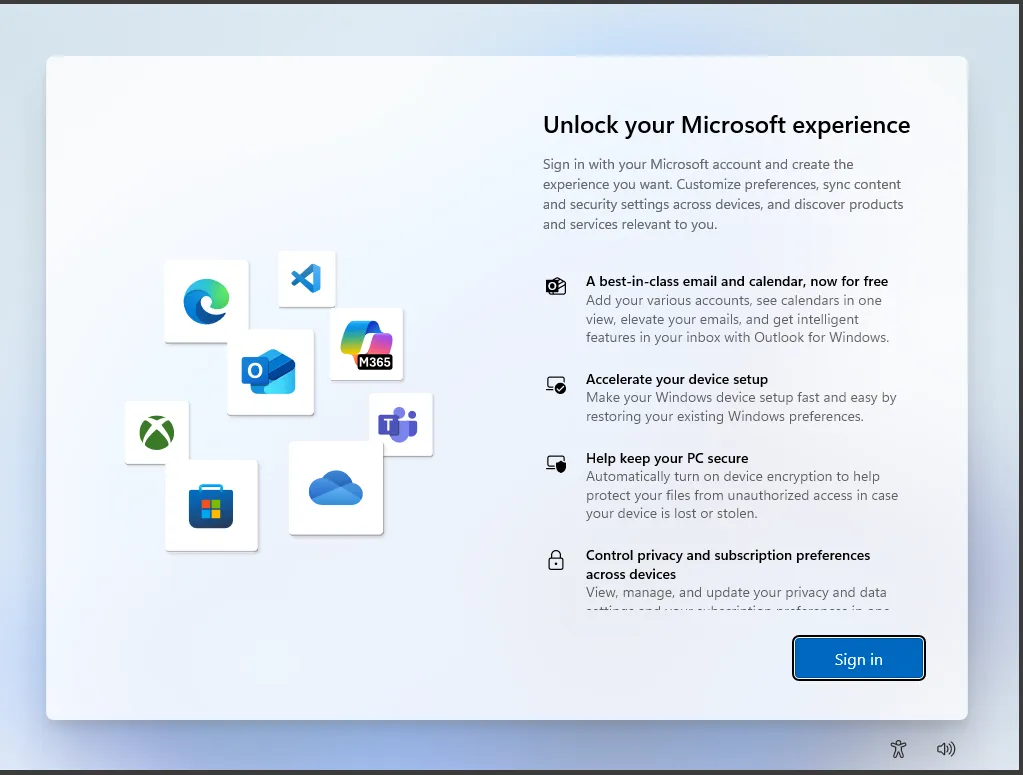
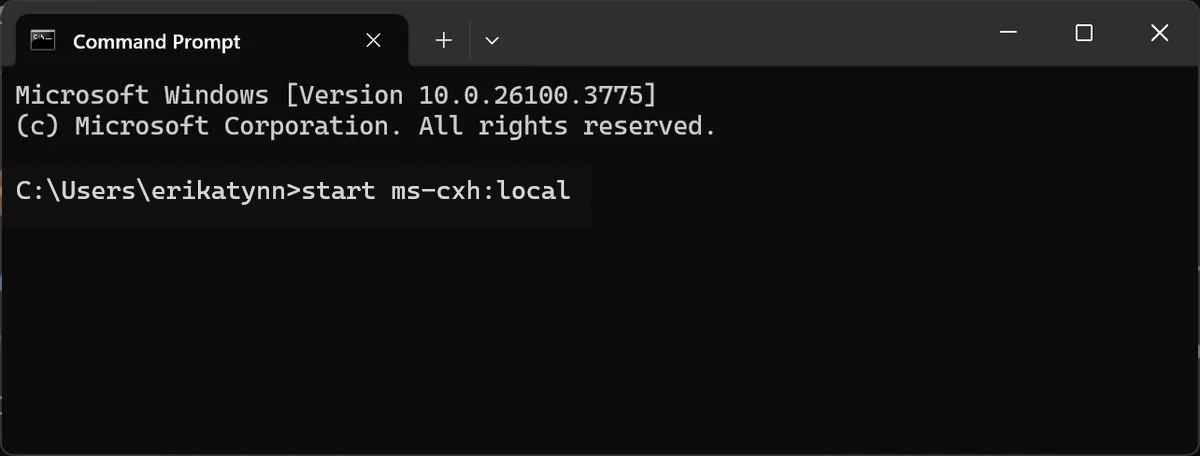
1. Follow the Windows 11 install process until you get to the Sign in screen.
2. Press Shift + F10. A command prompt appears.
3. Enter start ms-cxh:localonly at the command prompt.
A "Create a user for this PC" dialog window appears.
4. Enter a local username and password. If you enter no password, you'll have no password.
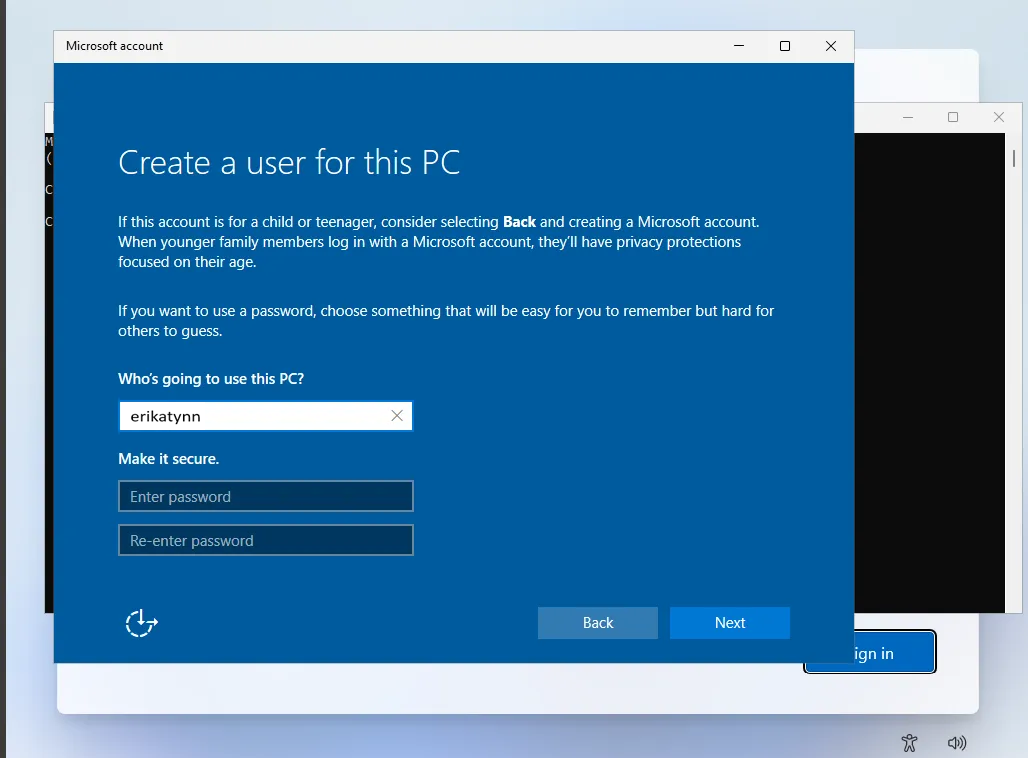
5. Complete the installation process and you'll be using the local account you created.